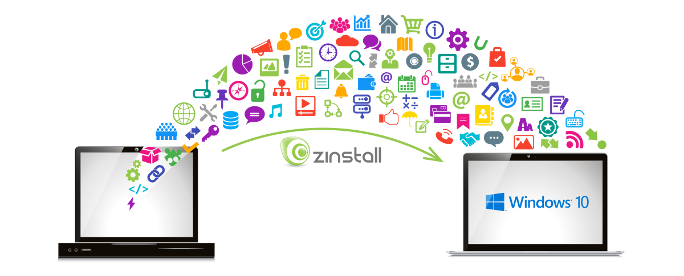
Transfer programs and files to new computer
Transfer files from one computer to another
Transfer Microsoft Office to new computer
Restore programs and files from a broken or dead computer
Transfer directly from an old hard drive
Transfer to new computer using a USB hard drive
Corporate Windows 10 migration
User Profile Migration to new PC / new domain
Move To New PC - Compare Options
Migration Kit Pro - Advanced Transfer

In this article, we will see how to perform an Easy Transfer to a new computer: copy files, accounts, documents, pictures, music, movies, favorites, profiles, settings and your personalization from an old PC to a new PC with Windows 11 or Windows 10.
Windows Easy Transfer has always been one of the simplest ways to transfer files to a new Windows PC. True, the original Microsoft’s Easy Transfer tool in Windows 7 could not transfer everything you’ve had under your profile, and could not transfer your programs, but it did the job for *most* of your content. In Windows 11 or Windows 10, however, the original Easy Transfer is no longer available. Fortunately, Microsoft community has already created a 3rd-party Windows Easy Transfer alternative, which is what we will use here.
The process we will use does not require special cables, can be done without prior computer knowledge, and – if you use an upgraded transfer product – can even transfer your programs to new PC. Let’s dive in.
Depending on the amount of data you have, and your connection speed, the transfer may take a couple of hours – but you don’t have to “sit and stare” at it, as it will complete automatically. Just let it run.
IMPORTANT: If you want not only your files, but also your programs, you can transfer programs as well. For that, use Zinstall WinWin.
Ready to do an Easy Transfer to your new computer?
Get Zinstall Easy Transfer here
You might have heard the term “Easy Transfer Cable” in relation to the Windows Easy Transfer tool from Windows 7. These cables were a type of specialized USB cable, which allowed to simplify the connection process, which in the Windows 7 version of Easy Transfer was, well, not very easy.
You do not need to buy any special cables for the Windows 11 or Windows 10 version used in this tutorial! The transfer automatically uses existing connections that your computers already have, and does not require special cables – and you get to save some extra cash on the purchase.
Get Easy Transfer for Windows 11 or Windows 10 here, and finish your transfer today!
