We all know that backup is important, and that hard drives may fail at any moment. Still, things happen, and you have found yourself with a hard drive that already had bad sectors on it, and potentially other forms of corruption as well.
At this point, it is usually too late to use a regular backup software, as it will probably fail to deal with bad sectors (which are physical damage on the drive). In this how-to, we will discuss some ways to deal with this situation, and which software to use to recover your programs (yes, programs too!), settings and files from the failing drive.
An important thing to note is that when the drive is already failing, you want to minimize interaction with it as much as possible, since every time you access the drive, you are bringing it closer to total failure. This means that – if possible – you should remove the drive from the computer, so that it is only accessed for data recovery and not for the failing computer’s ongoing operation. However, if that is not possible, or if you are not sure how to do it, you can recover directly from the computer as well. Both options are below.
If you can remove the failing drive from its PC, do it (if you can’t, see Option 2 below).
Disconnect the machine from power, and if it is a laptop – remove the battery.
Now that you have the hard drive, you need to connect it to the new computer. There are several ways to do this:
Once the old drive is connected to the new computer, in any of the ways above, you should be able to view the old files. At that point, you can proceed to the recovery stage.
At this stage, you can access the old files on the new computer. This already a big step forward! You can already look for the files you need, and manually copy them to the new PC. This type of manual recovery is not the easiest job to do, but it will at least get you most of your files back.
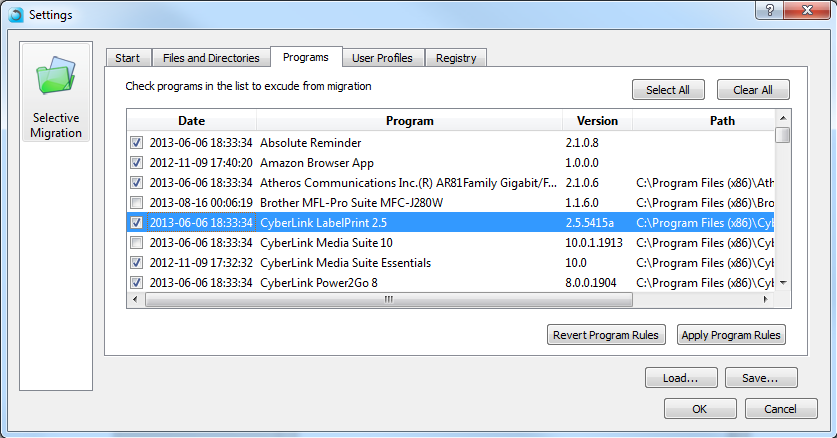
However, since the drive is partially corrupted, manual recover is not ideal, and it is better to use a dedicated rescue software. In this tutorial, we’ll use Zinstall Computer Rescue Kit. It can recover your programs, settings, files, emails, personalization, settings, documents and all the rest. An important feature of the Rescue Kit is that it is capable of dealing with bad sectors and corruption (to an extent). You will probably see notes on bad sectors while you run it.
If you prefer not to remove the hard drive, you can instead recover directly from the old computer to a new computer or to a USB backup drive. The disadvantage of not taking the drive out is that it continues to “run” the old computer, which puts a bit more strain on it, although of course it means that you don’t have to deal with screwdrivers.
If you opt for this option, you can still use the recovery process described below. The difference is that instead of connecting the actual drive to a new computer, you’ll need to run the Zinstall software on the old computer, and tell it to become a recovery source. It will then allow to access the drive in a similar way as if it were connected to a new computer, and the rest of the process will be the same as below.
Here is how to do it:

The recovery process will take a while, and you may see notifications about bad sectors being processed and recovered.
If the Rescue Kit finishes its run with a “Congratulations!…” message, that means that your recovery is complete, and you are done.
If it does not, that means that the amount of bad sectors / corruption on the drive was a bit too high. If that happens, we are not giving up yet, just moving to a slightly riskier recovery option (though it’s not like you have too much to lose…). This means running a CHKDSK on the drive.
If the drive is too deeply corrupted, it can be partially repaired using the Windows CHKDSK utility. The downside of using CHKDSK is that if the drive is almost completely dead, it may physically fail. This is why we recommend to use Zinstall Rescue Kit first, before running CHKDSK, to make sure everything that could be recovered beforehand, was recovered. After that, it’s worth the risk to run a CHKDSK on the drive, and here is how.
Important: On Windows 11 and Windows 10, using the Control Panel interface will seem to allow you to run CHKDSK as well, but it will not be an in-depth check that can address bad sectors. Use the instructions below to run a “real” CHKDSK.
chkdsk /f /r /x E:
Once CHKDSK is complete, run the recovery process above again.
Any questions on the recovery process? You can contact us by email (support@zinstall.com), phone (877.444.1588) or chat with us, at the bottom-right of this page.
(You’ll be doing that from a drive, the video is just here to show the end result)